YOUR 1975 MIDGET / FAN DECISION
Resolve the fan
before running.
IMG_6850 and IMG_6854 show several fan tips with missing-looking material, including a narrow pointed remnant. Inspect the whole fitted fan in person before starting the engine. This page turns the observation into a photo record, a parts comparison, and a repair plan.
The photographs do not prove every blade is damaged or even show the complete installed assembly. If a blade is cracked, loose, or missing material on the car, keep the engine off until the fan is replaced. A successful checklist is a record of inspection, not permission to run a damaged fan.
What the photographs show
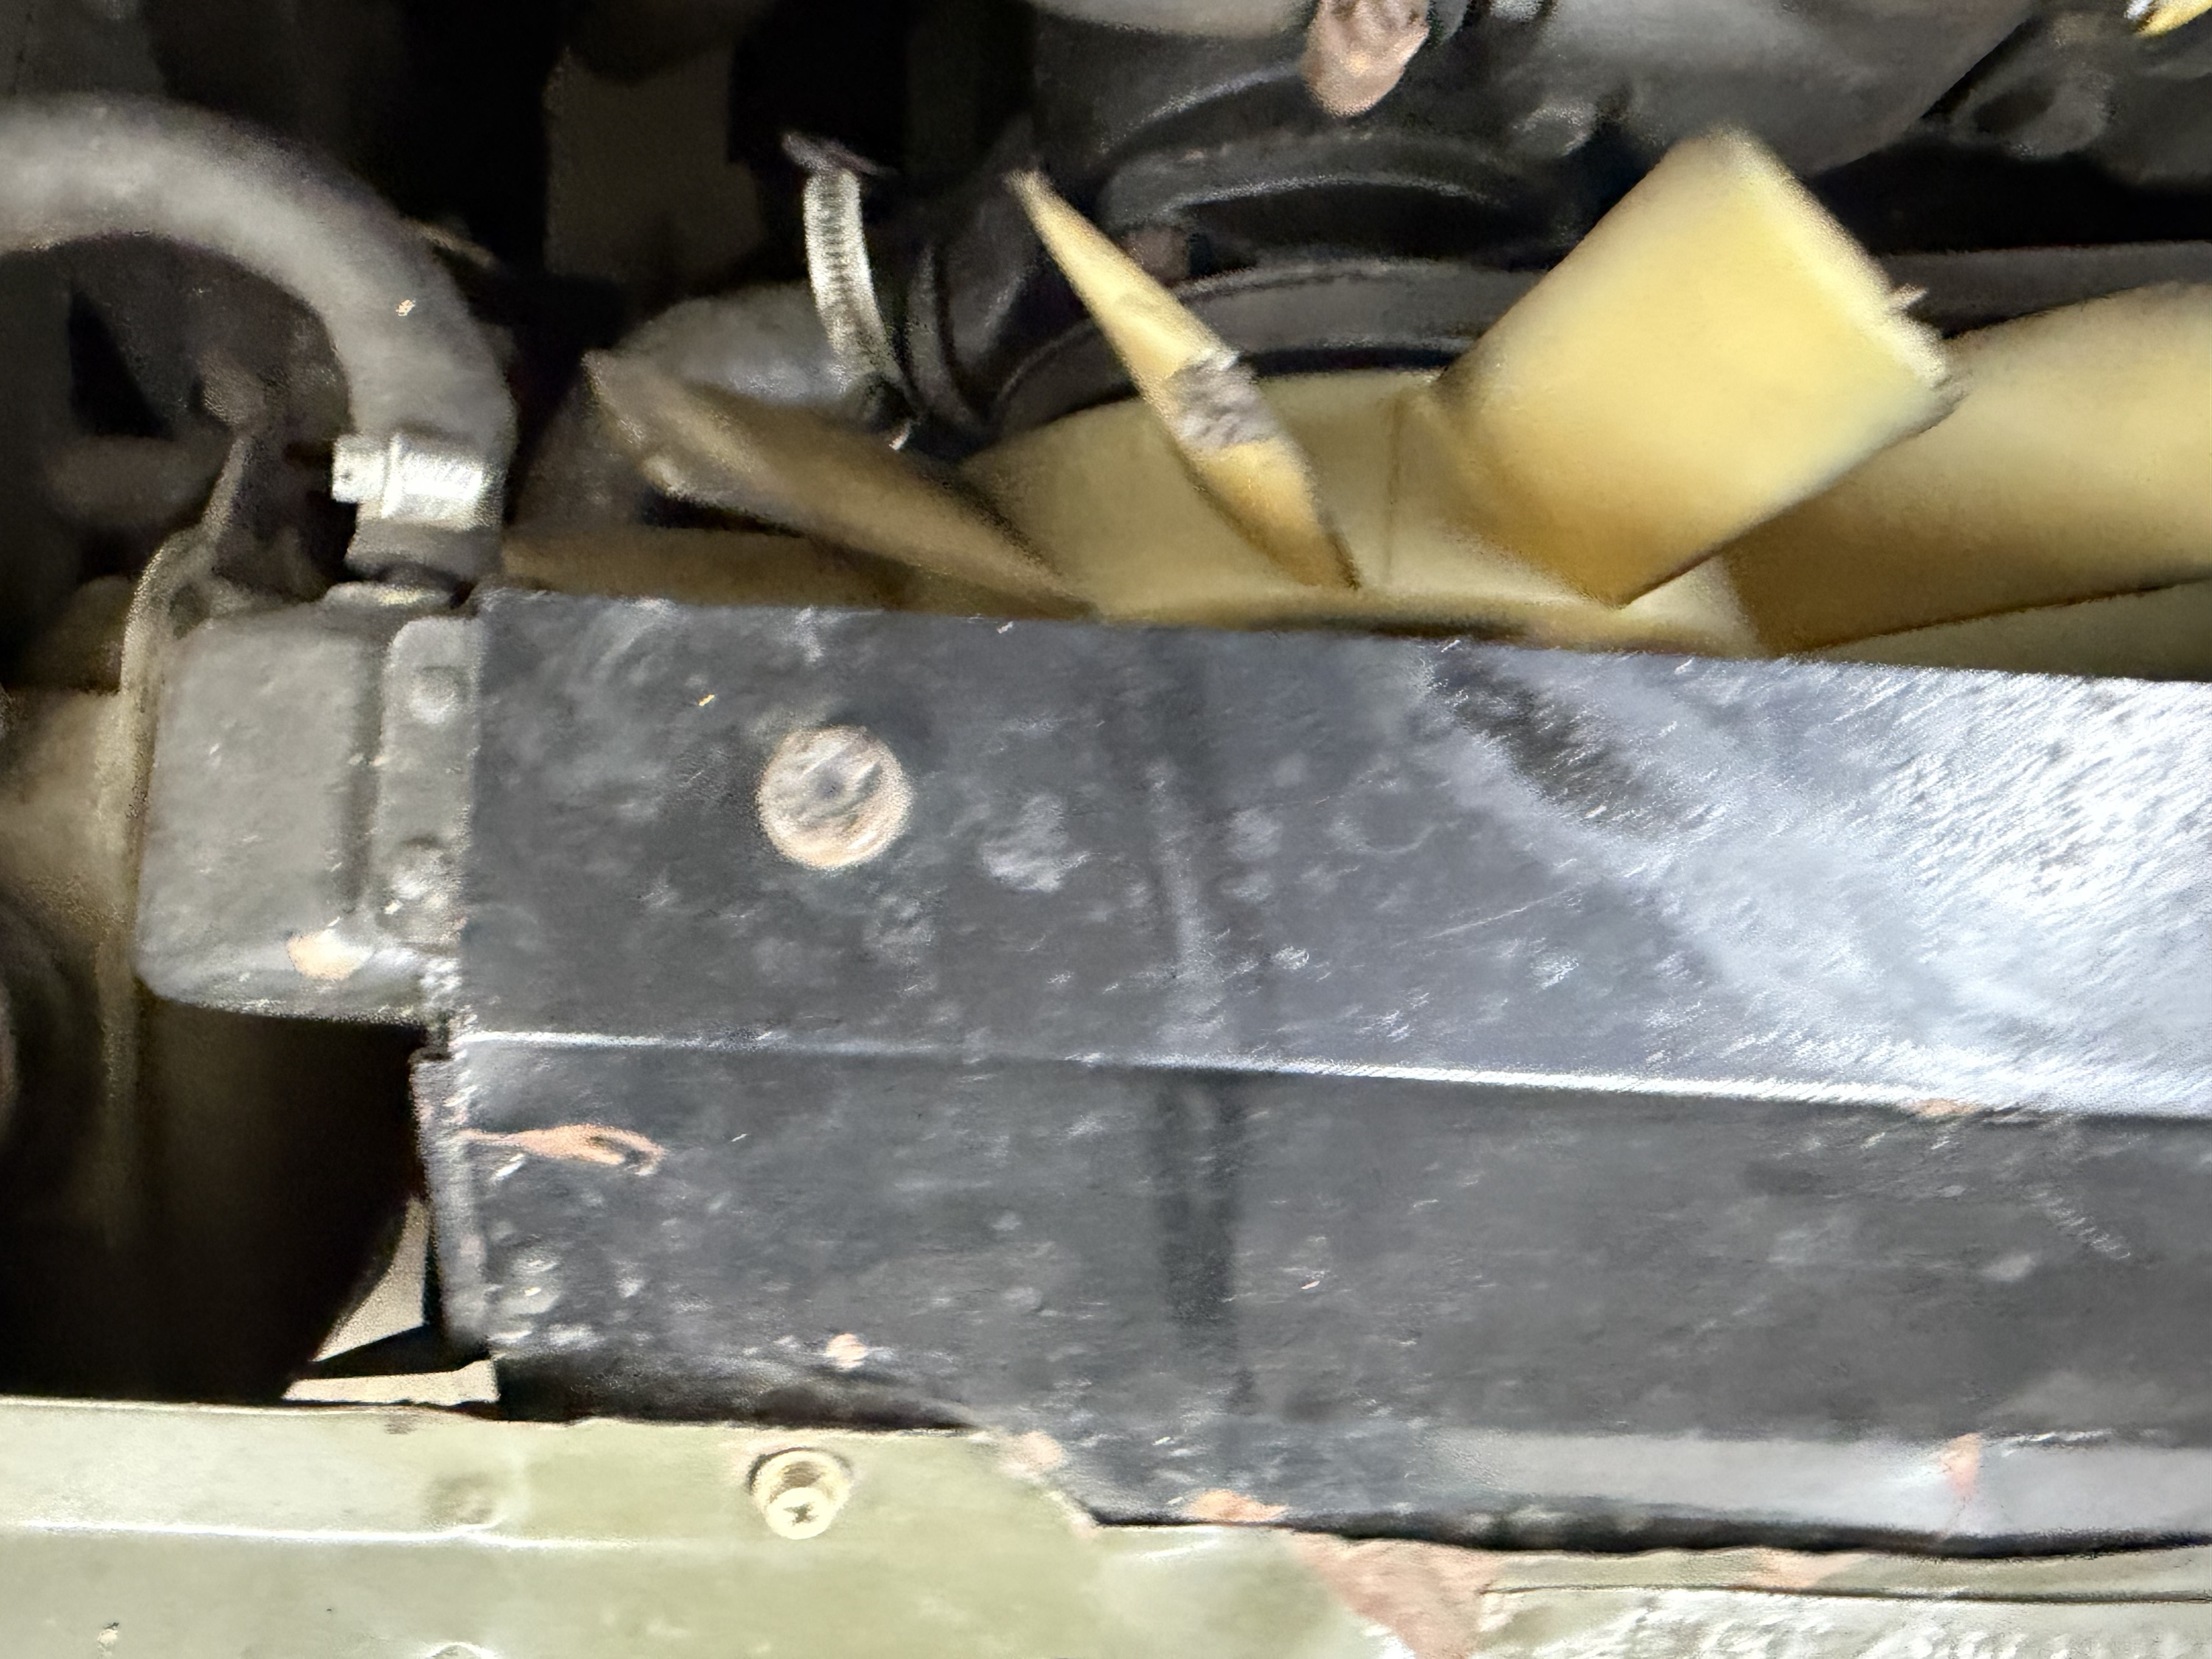
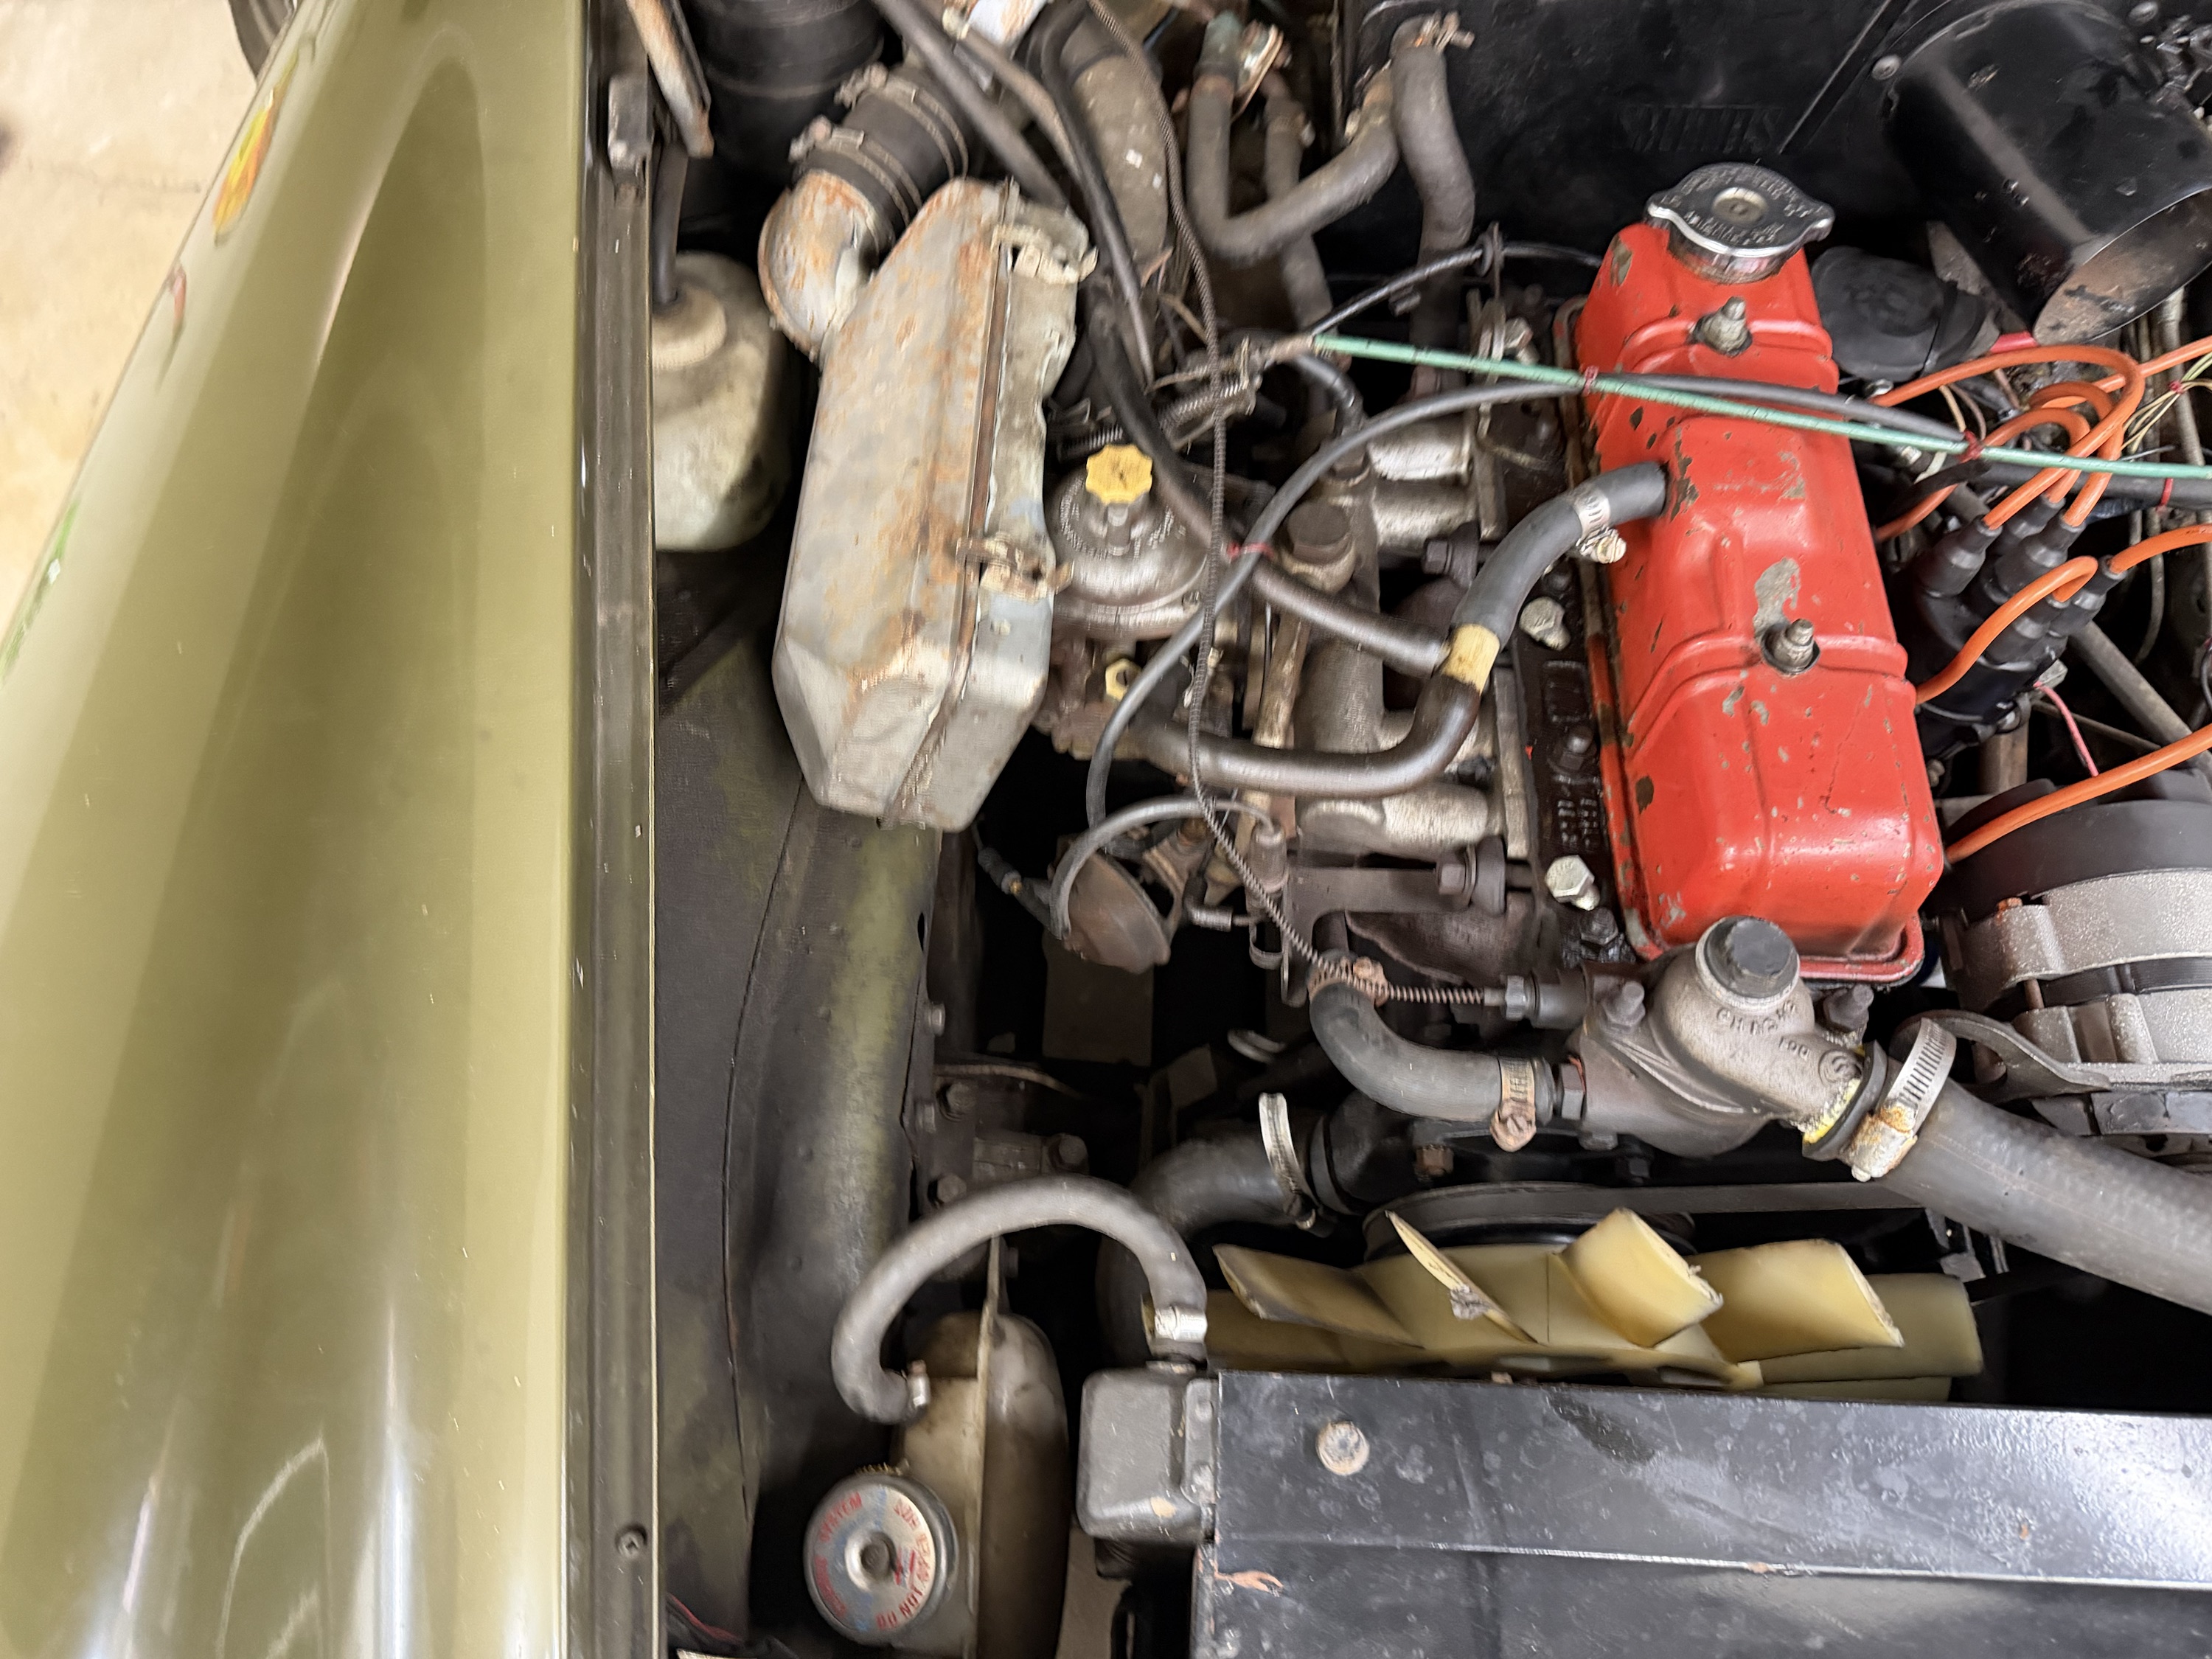
Open the full fan close-up ↗ · Open the overhead context ↗ · Compare the earlier close-up ↗
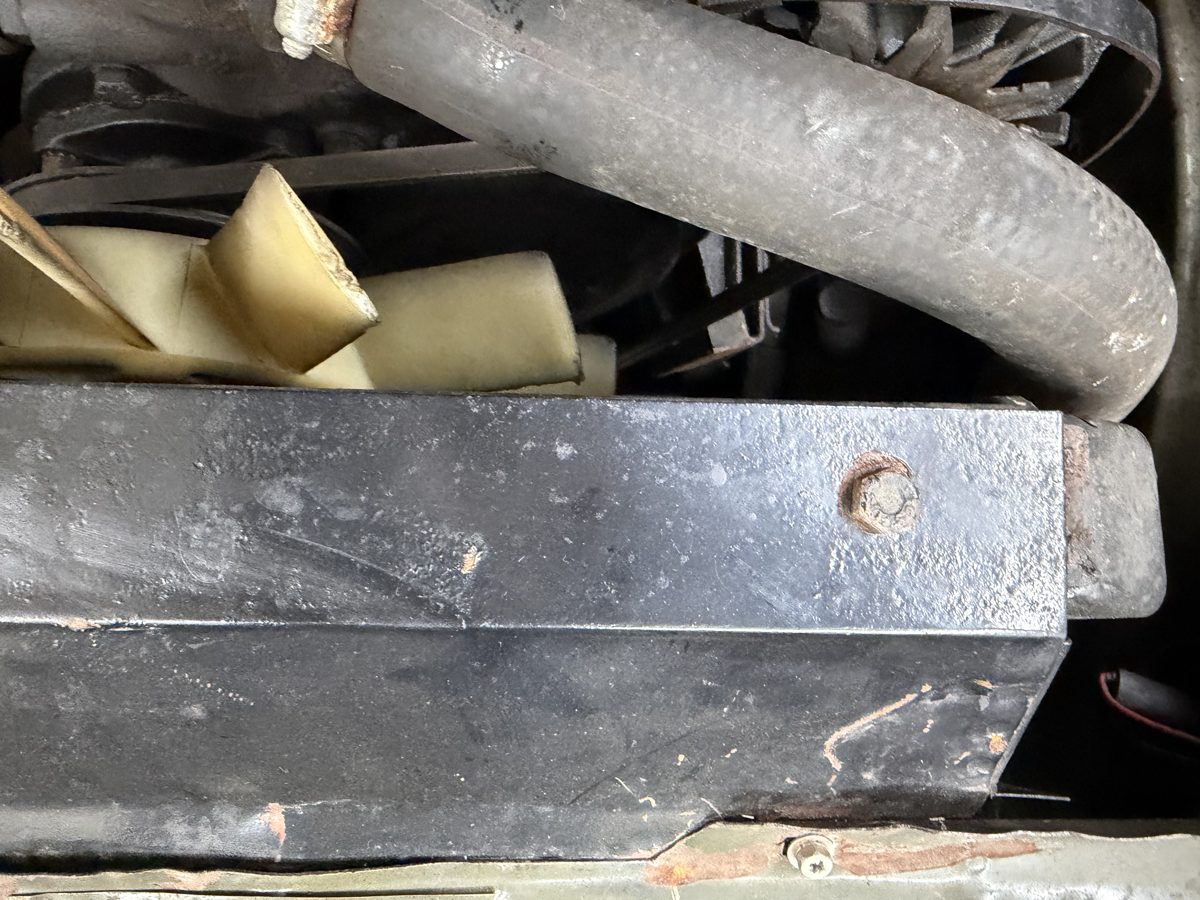
Use the photo measurement worksheet to record a provisional visible gap if useful, then measure the clearance directly on the car. The photograph cannot establish a service tolerance.

Cold inspection on this car
- Make the engine unable to start. Remove the key, let the engine cool completely, and keep hands clear of the belt path while documenting the fan.
- Photograph every blade. Take a whole-fan image plus close views of each leading and trailing edge and the hub. Record blade count, molded markings, color, cracks, missing pieces, looseness and any rubbed area.
- Record the mounting. Photograph the fan-to-coupling fasteners, coupling, water-pump nose and radiator clearance. Do not assume the photographed arrangement is unchanged today.
- Check related visible faults. Look for coolant traces at the pump and radiator and obvious contact marks on the shroud. Record any looseness or leak as a separate finding; the tip photograph does not diagnose the clutch or pump.
- Choose the branch. If the blade is intact, document why the edge is normal and keep other first-drive checks open. If any blade is damaged, plan a blade replacement. If the coupling or pump also has a confirmed fault, plan those as separate work and account for the tolerance ring when the coupling is removed.
Record what you find
Fill this out beside the car. It saves in this browser and can be printed with your observations; attach photos and repair costs in the project planner. The CAD fan displays a provisional 280 mm diameter and 67 mm adjacent-hole spacing estimated from a product photo. Leave the measurement fields blank until you measure this car. The downloadable STEP remains the provisional study until those measurements are used in a new build.
Parts to compare before ordering
The catalog numbers below are candidates for the listed North American 1500 assembly. Match the actual blade, coupling, engine number, chassis number and hardware before purchasing. A changed cooling system is possible on a 1975 car.
| Item | Catalog reference | Order decision |
|---|---|---|
| 13-blade plastic fan | Moss 434-570; Rimmer RKC92 | Candidate if the fitted fan matches. Record blade count and molded number; do not infer RKC92 from the year alone. |
| Viscous coupling | Moss 434-575; Rimmer UKC3532 | Separate from the blade. Add only if the fitted coupling is identified and its condition warrants replacement. |
| Tolerance ring | Moss 071-239; Rimmer UKC759 | Moss says to renew it every time the fan clutch is removed and replaced, including with a water-pump job. A blade-only job that leaves the clutch in place does not trigger that catalog instruction. |
| Fan-to-coupling fasteners | Rimmer Midget listing: four GHF102 bolts, four GHF200 nuts, four plain GHF300 washers | Photograph the fitted stack, count all four positions, and compare the current hardware before choosing replacements. Do not use a Spitfire illustration or an unverified torque as the assembly instruction. |
The RKC92 product photo shows the open four-hole spider and blade shape used as a visual reference in the engine CAD. Its proportions are not measurements of this car. Rimmer’s shared Spitfire plate (PDF p. 20) shows the same four-fastener fan-to-coupling relationship but lists a different plain-washer number. The Midget-specific listing is the better ordering starting point; the fitted hardware still decides.
Before undoing the first fastener
Blade only
Confirm the replacement blade and mounting stack. Record whether it can leave the bay without touching the radiator or shroud. The parts plate shows the blade and coupling as separate pieces, but it does not establish the access sequence or fastener torque.
Coupling or pump too
Identify the exact fitted coupling and pump. If the clutch comes off, include a new tolerance ring. A pump or cooling-system repair adds sealing and coolant procedures; do not treat it as a blade-only job.
Procedure and final check
Find the 1975 North American factory manual, AKM3267, or verify that a later AKM4071B procedure applies to this assembly before dismantling. Record the access sequence, fastener specification, tightening and clearance checks from that procedure. After repair, verify all blades and fasteners cold and resolve any contact before running.
The accessible catalog plates identify assembly relationships and candidate parts, but they are not a full removal-and-refit procedure. The available photographed manual sections have not provided a complete, inspectable fan operation. This is the remaining source gap for a car-specific replacement guide. The original technical-publications catalog lists AKM3267 for North America 1975 and AKM4071B for the 1975–79 Midget 1500 ↗.
Source trail
Moss Sprite/Midget catalog, PDF p. 37 ↗ lists the 1500 fan, clutch, belt, pump and ring and explicitly requires a new ring when the clutch is removed and replaced. Rimmer’s North American Midget fan listing ↗ identifies RKC92, UKC3532, UKC759 and the fan fasteners. Rimmer’s Spitfire exploded plate, PDF p. 20 ↗ is a shared-engine comparison, not proof of this Midget’s fitted parts. The owner photographs establish the visible tip concern only.
Start the fan project ↗ · Return to the cold cooling inspection ↗ · Identify the 1975 cooling configuration ↗